Sunday, October 27, 2013

Caramel Apple Cheesecake Slab Cake


I made a cake for church morning tea and before I forget the recipes I used I thought I'd collect them all here so I can make it again!

I did the cheesecake layer first, from the taste website:
  • 2 x 250g packets cream cheese, softened
  • 3/4 cup caster sugar
  • 3/4 cup sour cream
  • 1 teaspoon vanilla extract
  • 1 teaspoon finely grated lemon rind
  • 3 eggs
  • Preheat oven to 160°C/140°C fan-forced. Line a baking dish, approx 18x28cm, with baking paper.
  • Process cream cheese, sugar, sour cream and vanilla until smooth. Add eggs, 1 at a time, processing until just combined. Pour into prepared pan. Bake for 50 minutes to 1 hour or until just set and centre wobbles slightly. Allow to cool in oven for 2 hours, with door ajar. Refrigerate.


And then the apple cake, recipe from pies and plots (Australianised)
  • 2 cups plain flour
  • 1 teaspoon baking powder
  • ½ teaspoon bicarb soda
  • 2 teaspoons ground cinnamon
  • ½ teaspoon ground cloves
  • ½ teaspoon ground nutmeg
  • 250g butter, room temperature
  • 2 cups sugar
  • 4 large eggs
  • 2 teaspoons vanilla extract
  • ⅓ cup milk
  • 2 ½ - 3 cups apples peeled, cored, and chopped finely (any variety)
  1. Preheat oven to 180 degrees C. Line the same dish you used for the cheesecake with baking paper.
  2. In a medium bowl, stir together flour, baking powder, bicarb soda, salt, cinnamon, cloves, and nutmeg.
  3. Cream butter and sugar until light and fluffy. Add the eggs one at a time, mixing after each addition. Add vanilla and milk and beat until fully combined and light and fluffy. Stir in apples and flour mixture. Mix until just combined.
  4. Pour batter into prepared pan and bake for 35-45 minutes, rotating halfway through, until a toothpick inserted in the center comes out with only a few moist crumbs. Cool cake completely in pan. Cake may be made one day ahead of time.

And cream cheese frosting:
  • 2 x 250g pkts cream cheese, at room temperature
  • 300g (2 cups) icing sugar mixture
  • 120g butter, at room temperature
  • 1 tsp vanilla essence
  1. Use an electric beater to beat the cream cheese, icing sugar, extra butter and extra vanilla until smooth.
  2. Smooth a thin amount over the apple cake and carefully place cheesecake on top. Cover the sides and top edges with frosting.


And finally, the caramel, from Mum what's for dinner? (I love this recipe because it isn't too runny or too chewy, but has a ganache-like consistency)
  • 1/2 cup sugar
  • 2 tablespoons water
  • 1 tablespoon butter
  • 1/2 cup cream
    1.  Combine sugar and 2 tablespoons water in a medium, heavy saucepan over medium-high heat; cook until sugar dissolves, stirring gently for 3 minutes. 
    2. Stop stirring and continue cooking 10 minutes or until the color of light brown sugar. Remove from heat; carefully stir in butter and cream. Place pan over medium-high heat until caramelized sugar melts. Bring to boil; cook 1 minute. 
    3. Remove pan from heat; cool caramel in fridge for 10 minutes before spreading over chilled cake (any longer and it will set too quickly on the cake).
    4. Pipe cream cheese frosting around the edge of the cake (I used Wilton tip 1M for the top and #12 for the base).

Wednesday, March 6, 2013

Mixed Stripe Blanket

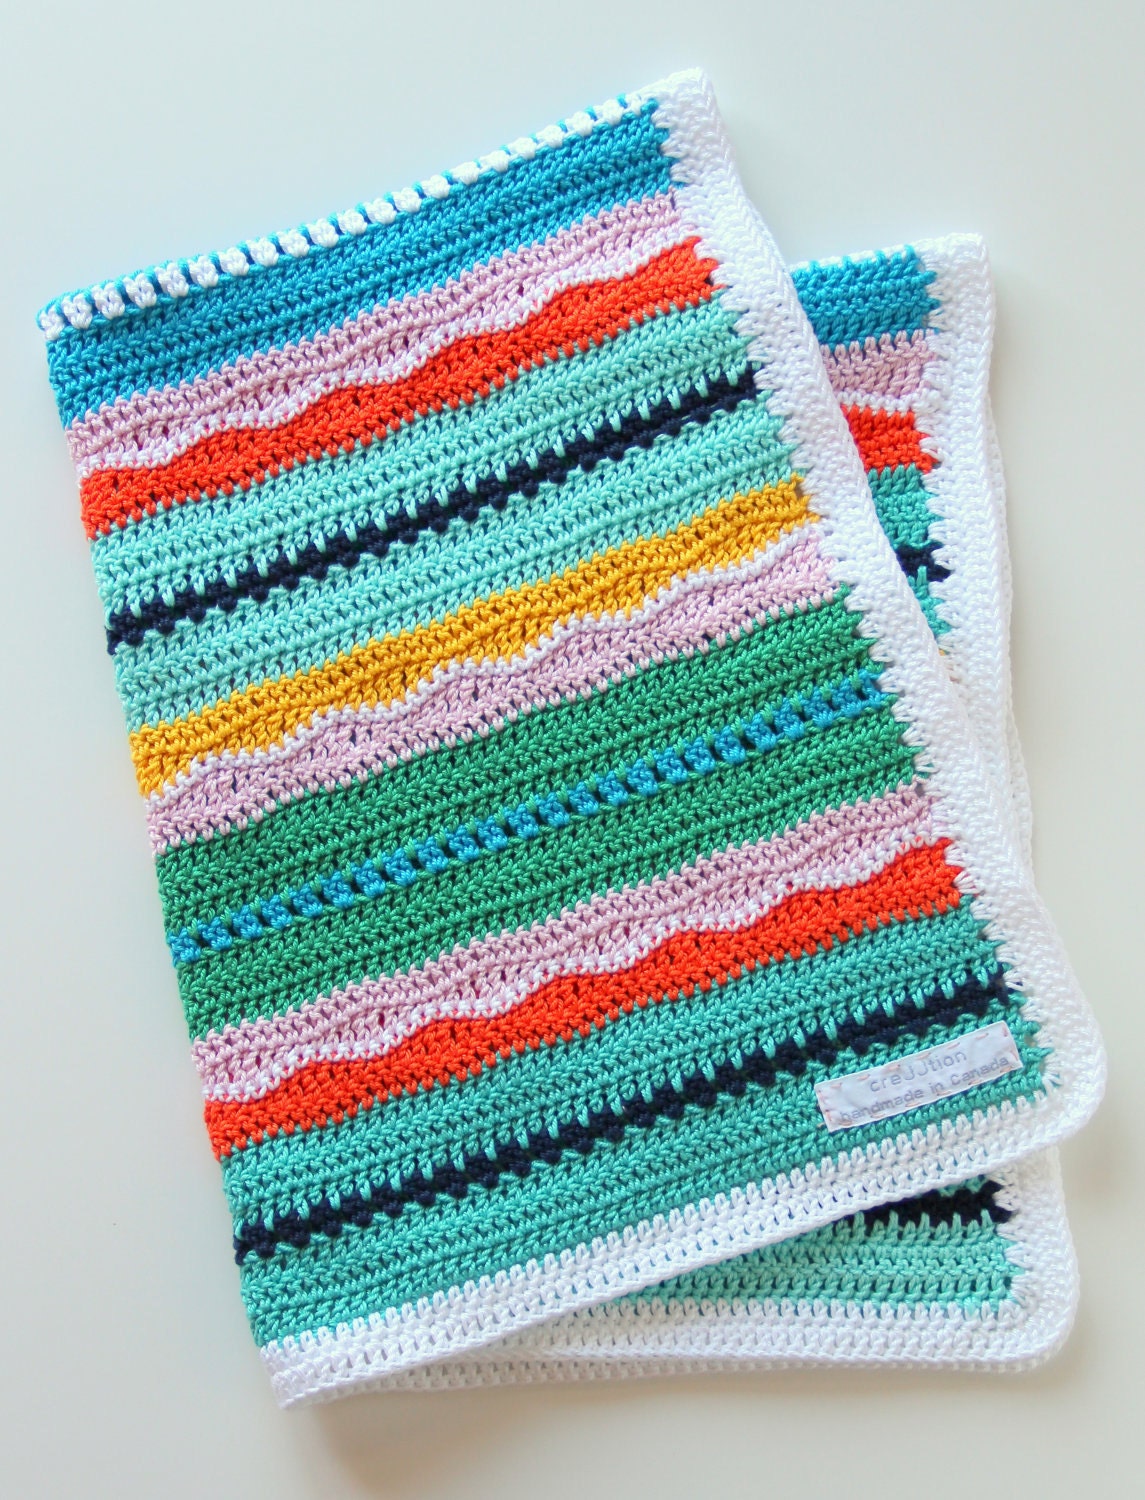
My first two children missed out on having nice things made for them as I didn't know the sex until they were born and time for such things was gone. I'm confident enough that Baby #3 is a girl that I've started a blanket for her. A ripple blanket had been on my mind for awhile, but I don't cope well with doing the same thing over and over again. I had remembered seeing a mixed stripe blanket on Pinterest. I didn't repin it at the time, but it obviously stuck with me. Eventually I found it, and some others, for inspiration and have begun.
This is the other one I found, by Little Woolie

Mine is different to these two. I'm going for more textures and less pattern, so trying to have more open bits, but sticking to straight lines...
I will post soon with some pictures of how it is going!

Wednesday, October 3, 2012

The Caterpillar Suit

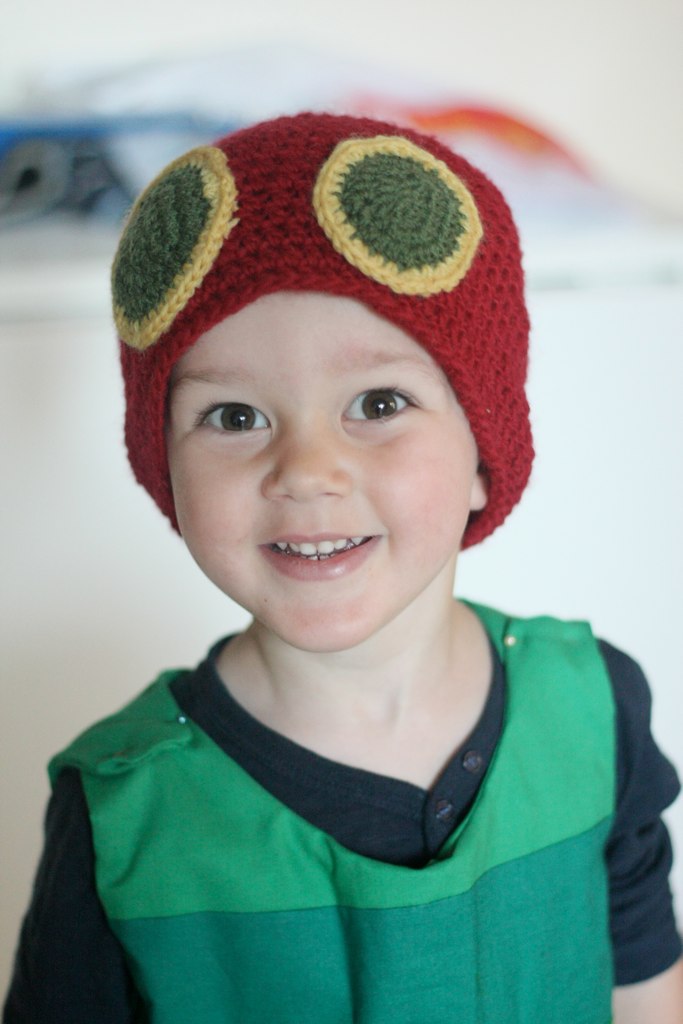
I thought it would be cute to crochet a very hungry caterpillar suit for Lenny for the party. I did a google images search and fatefully showed him the results. He saw a caterpillar suit and that was it. He had to have a caterpillar suit.

I was inspired by this tutorial, and this forum post but ended up doing my own thing.

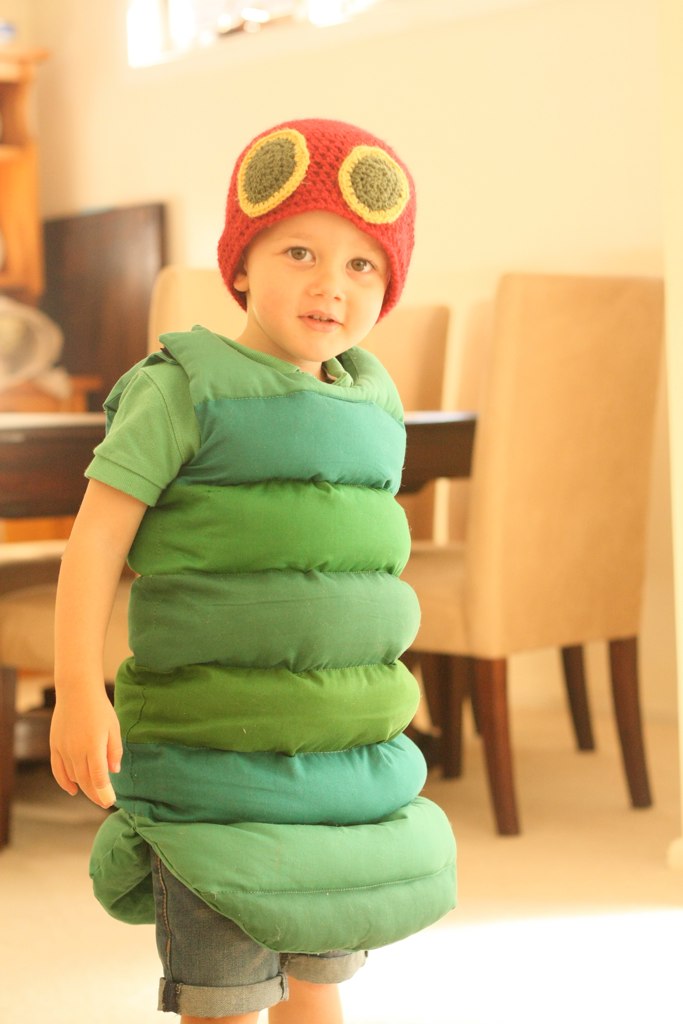
First I made a pattern based on one of Lenny's tshirts. I made it longer and with tabs at the top. I cut a front and a back in plain green cotton for the lining and a second front and back from 10cm (4inch) strips of fabric in similar shades of green sewn together. I sewed the side seams of each, and then placed them right sides together and sewed the neck and arms.

I stuffed the top section with poly fill and stitched (in the ditch or as close to it as I could get) to enclose. I did the same with the second section. With the following sections, I sewed the stitch in the ditch first, and then unpicked the side seam of the lining to stuff. Hemming the bottom was a challenge. In the end I sewed an extra piece of green lining to the bottom two sections (right sides together) and did a second row of stitch in the ditch to keep it in place.
To hold the top tabs together I used sticky velcro (but it came off quite quickly, I need to use sew on!)


As you can see from the pictures, he was very pleased with his suit. He has worn it a number of times since (including riding to the Chemist on his scooter yesterday) and everyone loves it.

Oh and the beanie was crocheted using this pattern. I just made up the eyes (and they're different cos I did them too far apart to remember what I did!)

Sunday, September 9, 2012

A Very Hungry Caterpillar Party

Yesterday I put on a Very Hungry Caterpillar party for my kids. Their birthdays are close together and it seemed sensible to put all my energy into one party rather than try to do two. I needed a gender neutral theme and Pinterest had given me plenty of Very Hungry Caterpillar ideas...

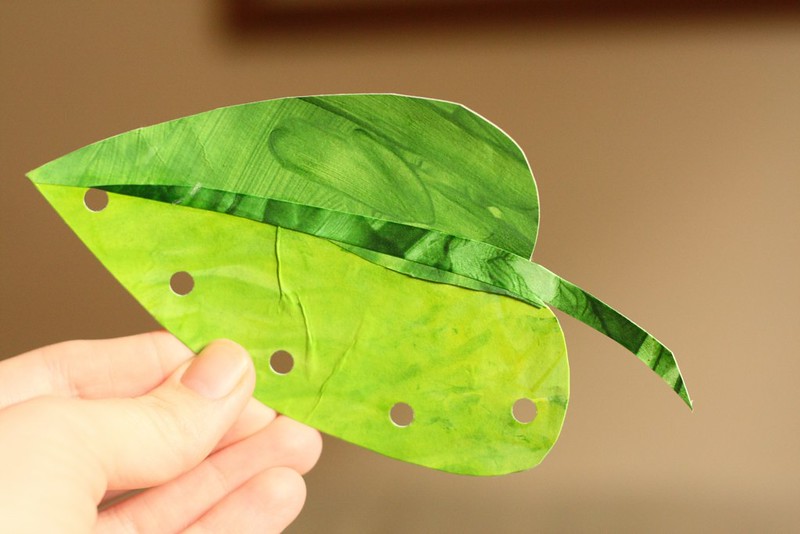
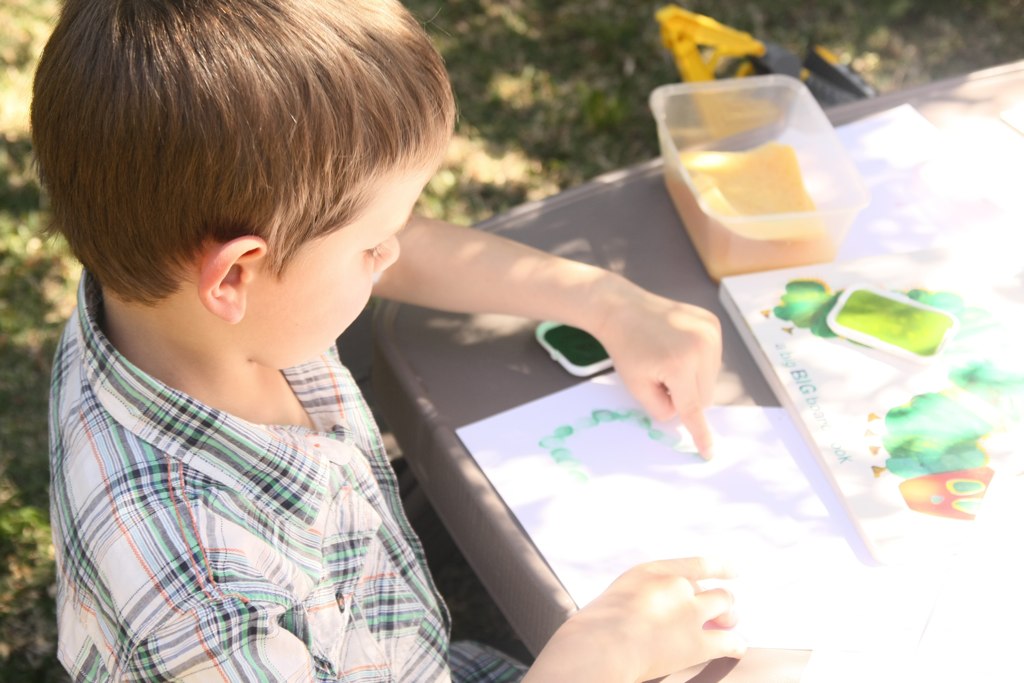
For the invitations I wanted something with a handmade element. I had seen a few leaf invitations online and so got my son to do some fingerpainting.

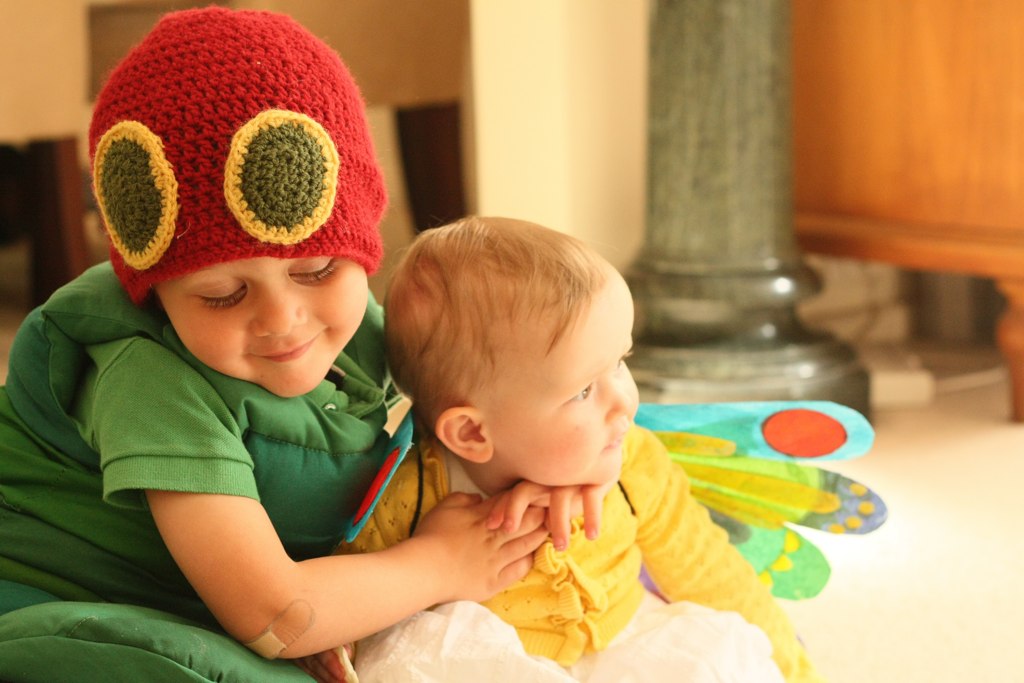
There was lots I could do in advance. I got to crocheting a beanie for my caterpillar (who was turning 3). He saw a google images search for caterpillar hats and saw a caterpillar suit and that was it. He wanted a caterpillar suit. See more about the suit here. I also got an early start on some butterfly wings for my 1 year old. I used polypropylene (like the cover of a notebook) and glued strips of tissue paper to it. It took a long time but they looked great and can be reused!

I came up with some craft ideas, possibly ones I'd seen before (the Pinterest/blogosphere is like that). So we had fingerprint caterpillars and tissue paper and peg (clothespin) butterflies.

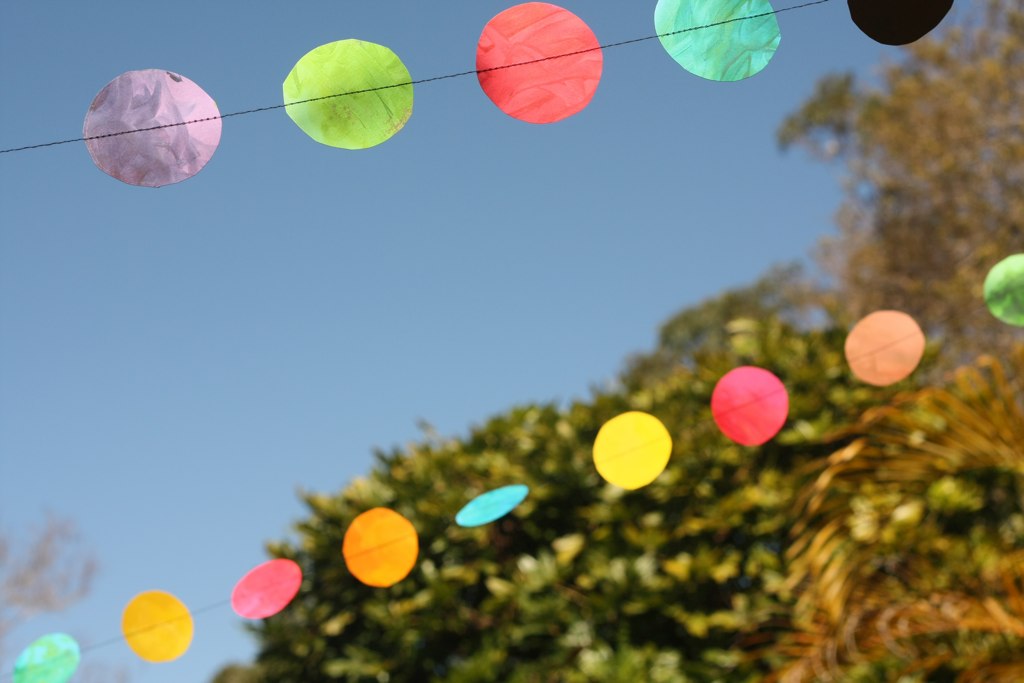
I also bought some coloured card and got my son doing some fingerpainting, which I cut into circles and sewed together to make a garland.


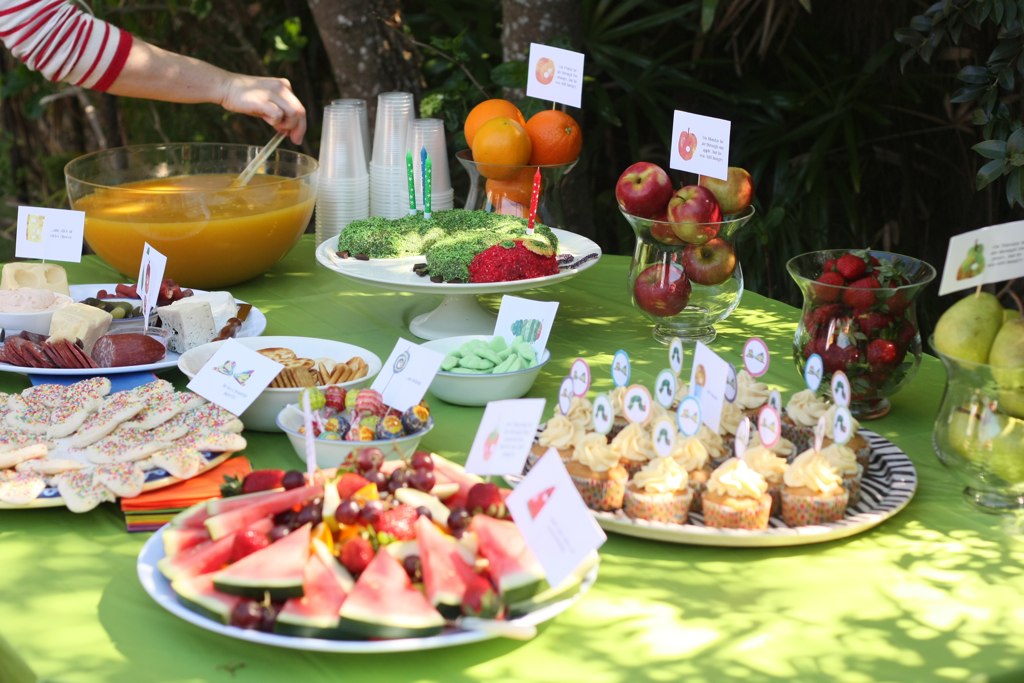
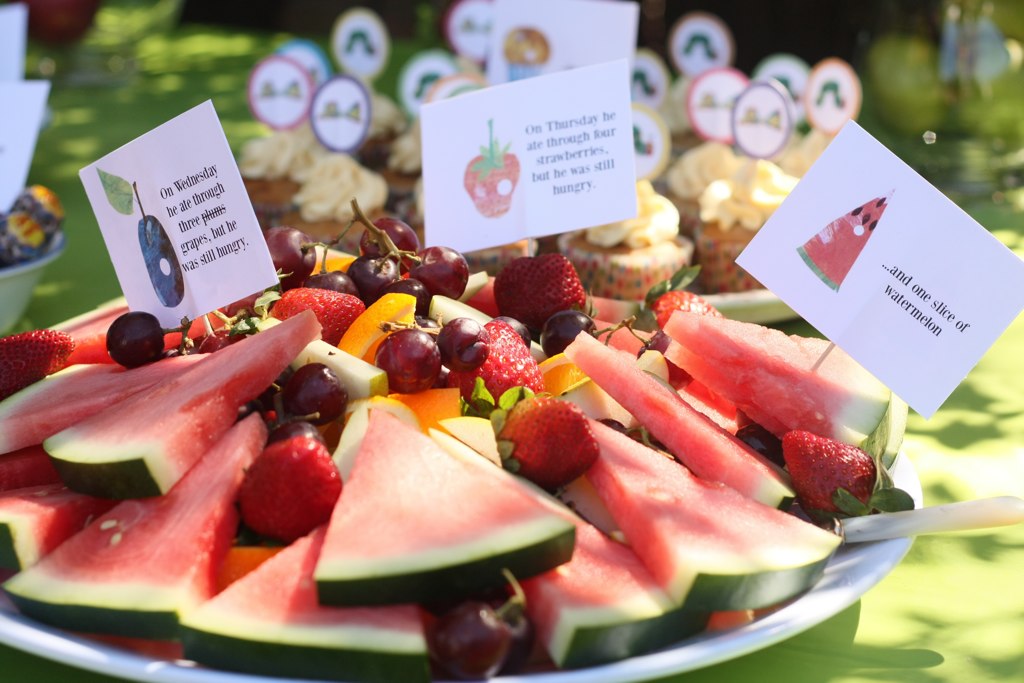
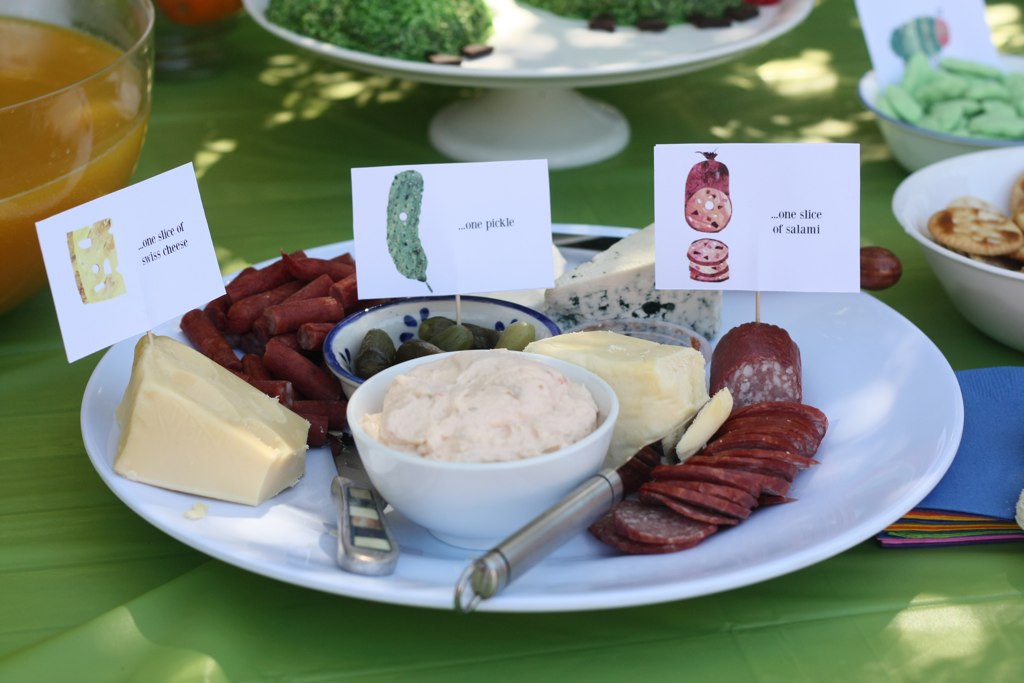
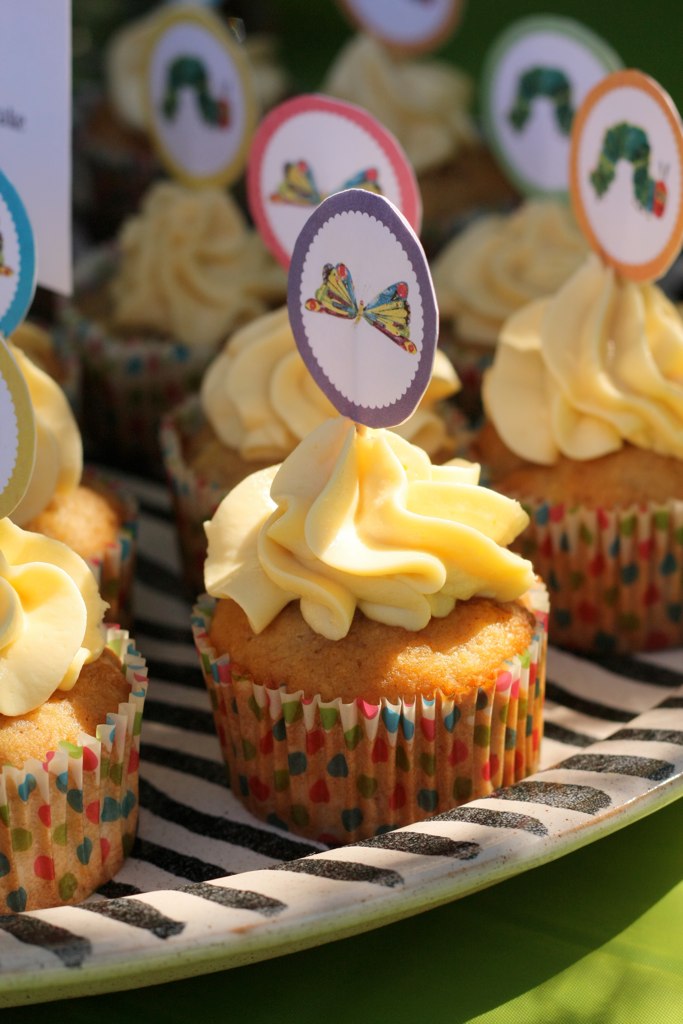
Food was easy to plan. Everything came from the book and I made signs just in case people didn't know the book as well as I do!

There were apples, pears, grapes instead of plums, strawberries, oranges and watermelon...

A cheese plate with swiss cheese, salami and pickles...
cupcakes... (hummingbird cake with cream cheese icing)
 
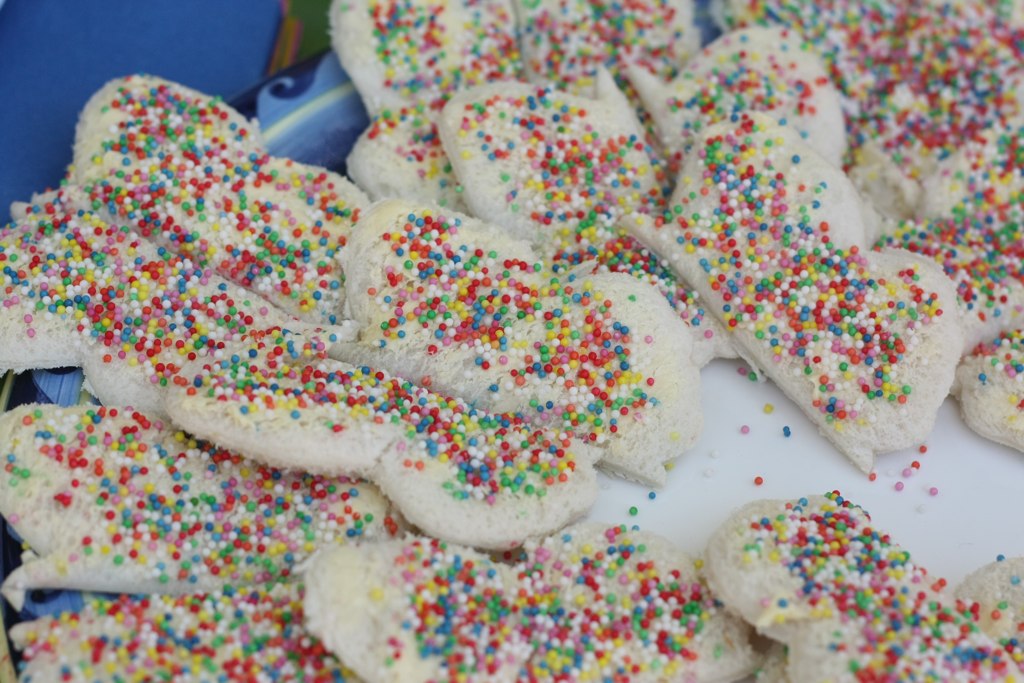
Butterfly fairy bread...

And I didn't get photos, but we served 'sausage' (cocktail frankfurts), 'cherry meat pie', lollipops (which didn't go down so well with my mum who is very protective of her carpet!) and caterpillar shaped lollies. I had ice cream cones and fairy floss to serve as the 'ice cream cone' but we completely forgot to serve them...
Mum also made crumbed chicken caterpillars which were delicious.

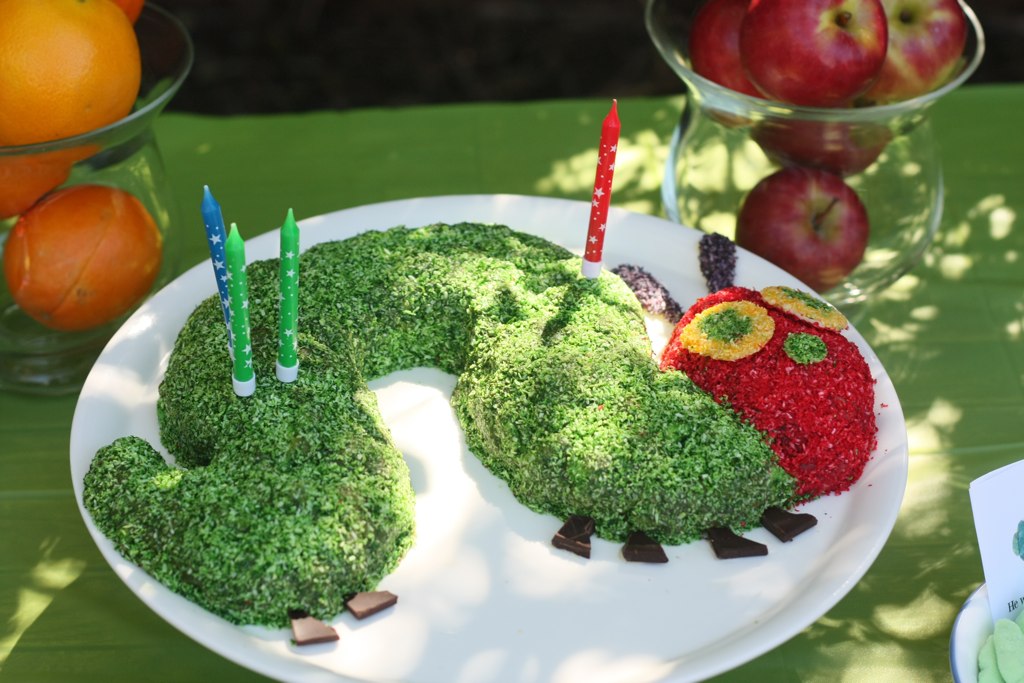
I made two cakes. A caterpillar shaped lolly cake for the kids (which took me about an hour and a half all up!) Lolly cake is apparently a NZ regular. We don't have eskimo lollies/fruit puffs in Australia so I used wacky watermelon clouds. The sour flavour really did not go with the biscuit/sweetened condensed milk cake, but it was only for the kids! Next time I'd use marshmallows or Clinkers I think...
I coloured the coconut with food colouring (before sprinkling it on) and made the eyes, nose and antennae from white chocolate ganache sprinkled with coloured coconut. The feet are just cut straight out of pieces of dark Lindt chocolate.


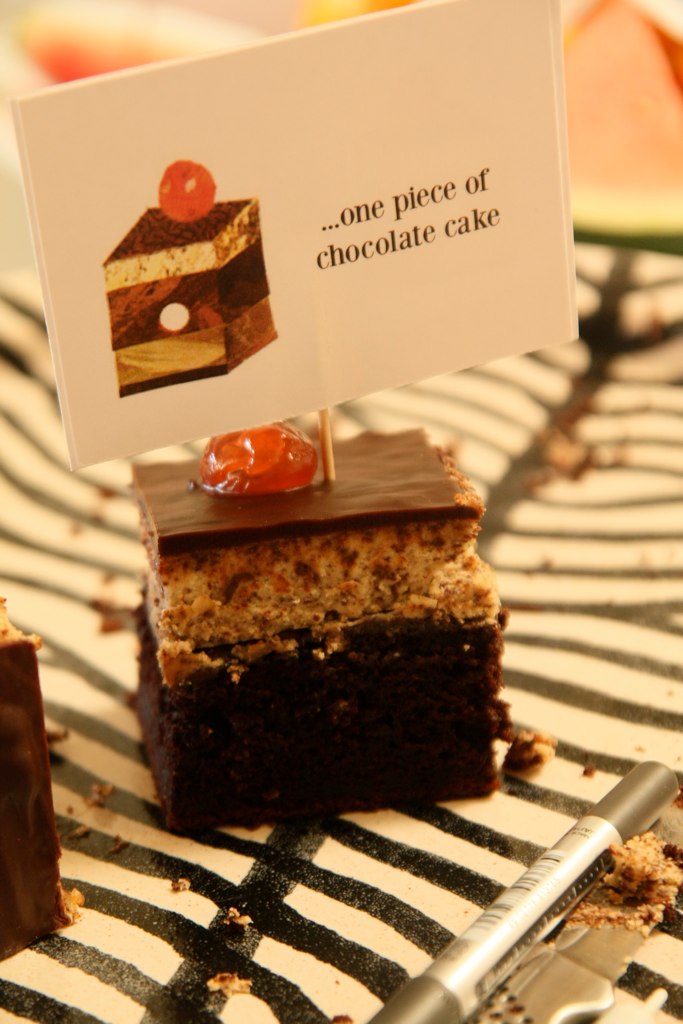
And a chocolate cake that was inspired by the 'one piece of chocolate cake' featuring a layer of choc chip cheesecake... I used this recipe but made it in an oven tray, and did the cake in just one layer. Also, I grated the chocolate in a food processor instead of using chocolate chips and topped it with ganache.

I think it was lots of fun for everyone (it's hard to know! I was running around doing things the whole time).

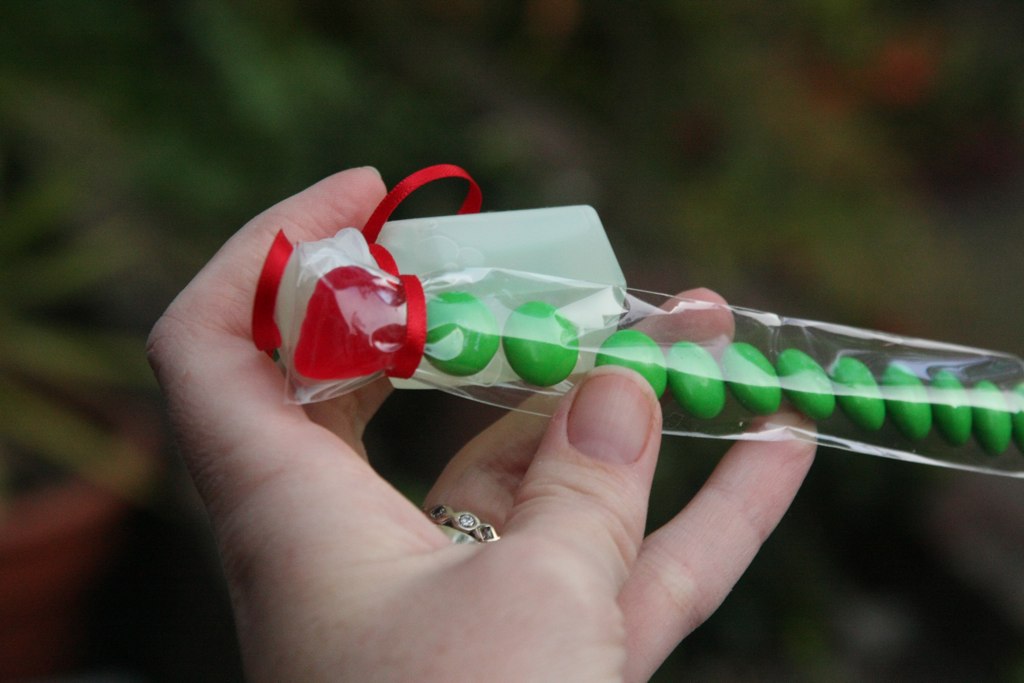
And I nearly forgot, for the favours I ordered long thin clear cello bags on eBay and filled them with green M&Ms with a red raspberry for the head. I also attached a thing of bubbles for fun.

It was definitely fun to plan. Though I'm very happy my life can return to normal now...

Friday, May 28, 2010

World's Ugliest Bootie

I was given this book for Christmas.
I've done a little felting before, mostly needle felting, so I thought I'd try wet felting these super cute booties. The instructions seemed easy enough, but I don't know what happened... I only did one. It took about an hour and is all lumpy and way too big. I don't think I'll be attempting a pair.

Friday, May 21, 2010

slow shipping

I've been waiting for 3 weeks for my bali pops to arrive from the states. I was hoping to make a throw as a wedding gift for a wedding today, but it's going to be late...


Wednesday, May 12, 2010

too cute...

You know when your child is quiet that he's found something interesting to play with. Usually something he's not allowed to play with. Well, I looked up and found that my son, Lenny, had discovered my quilting fabric and had completely unraveled a jelly roll. But he gave me the biggest smile all I could do was take a picture (or 5)!